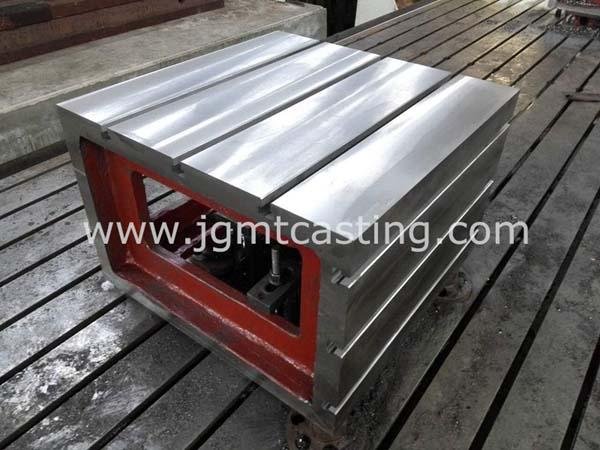
Types and functions of cast iron box tables
The cast iron box table is mainly used for the inspection of the parallelism and perpendicularity of the parts and supports the workpiece during scribing. One of the working surfaces has a V-shaped groove; it is generally a cube or a rectangular parallelepiped with the same side length. It is used for three-dimensional scribing by fitter Measurement and inspection of parallelism, perpendicularity and various position errors of parts.
The material of the cast iron box table is: HT200-300, the accuracy can be divided into zero, first, second, third; general zero, first, second, for inspection, and third for marking.
Cast iron square boxes are divided into inspection square boxes, crossed square boxes, T-slot square boxes, V-groove square boxes, assembly square boxes, magnetic square boxes, universal square boxes, and universal angle square boxes. It is an important auxiliary tool in flat panel measurement, used for fitter's three-dimensional marking, inspection and marking of the parallelism and straightness of mechanical parts.
The inspection box is used for workpiece accuracy inspection, measurement, scribing, etc. The scribing box is mainly used for scribing when machining parts and components, and the T-slot box is used for mechanical and machine tool processing to cooperate with the worktable to clamp the workpiece or positioning the workpiece during equipment installation, equipment assembly, and workpiece riveting. It is also used for component parallelism and perpendicularity inspection. The universal box is used for workpiece inspection at any angle or precision scribing. The cast iron box is a cavity cube with 6 concrete working faces made of cast iron or steel.
cast iron box table
Cast iron square box requirements: each working surface of the square box must not have rust, scratches, cracks, dents and other defects that affect the measurement performance. The non-working surface should be sanded and painted, and the edges should be chamfered.
Specifications are: 100*100mm, 200*200mm, 300*300 mm, 400*400 mm, 500*500mm, such as special specifications can be customized or processed according to user needs.
Advantages: When the accuracy is reduced, the accuracy can be restored by debugging or scraping. In addition to checking the flatness of the scratch-developed square box, the coloring method is also used to check the contact spots. The number of spots in any square with a side length of 25mm is: no less than 25 points for the first and second levels; no less than 20 points for the third level.
